Connect
From the status page, click Connect repository (or Connect / change repository in the Connected repository card).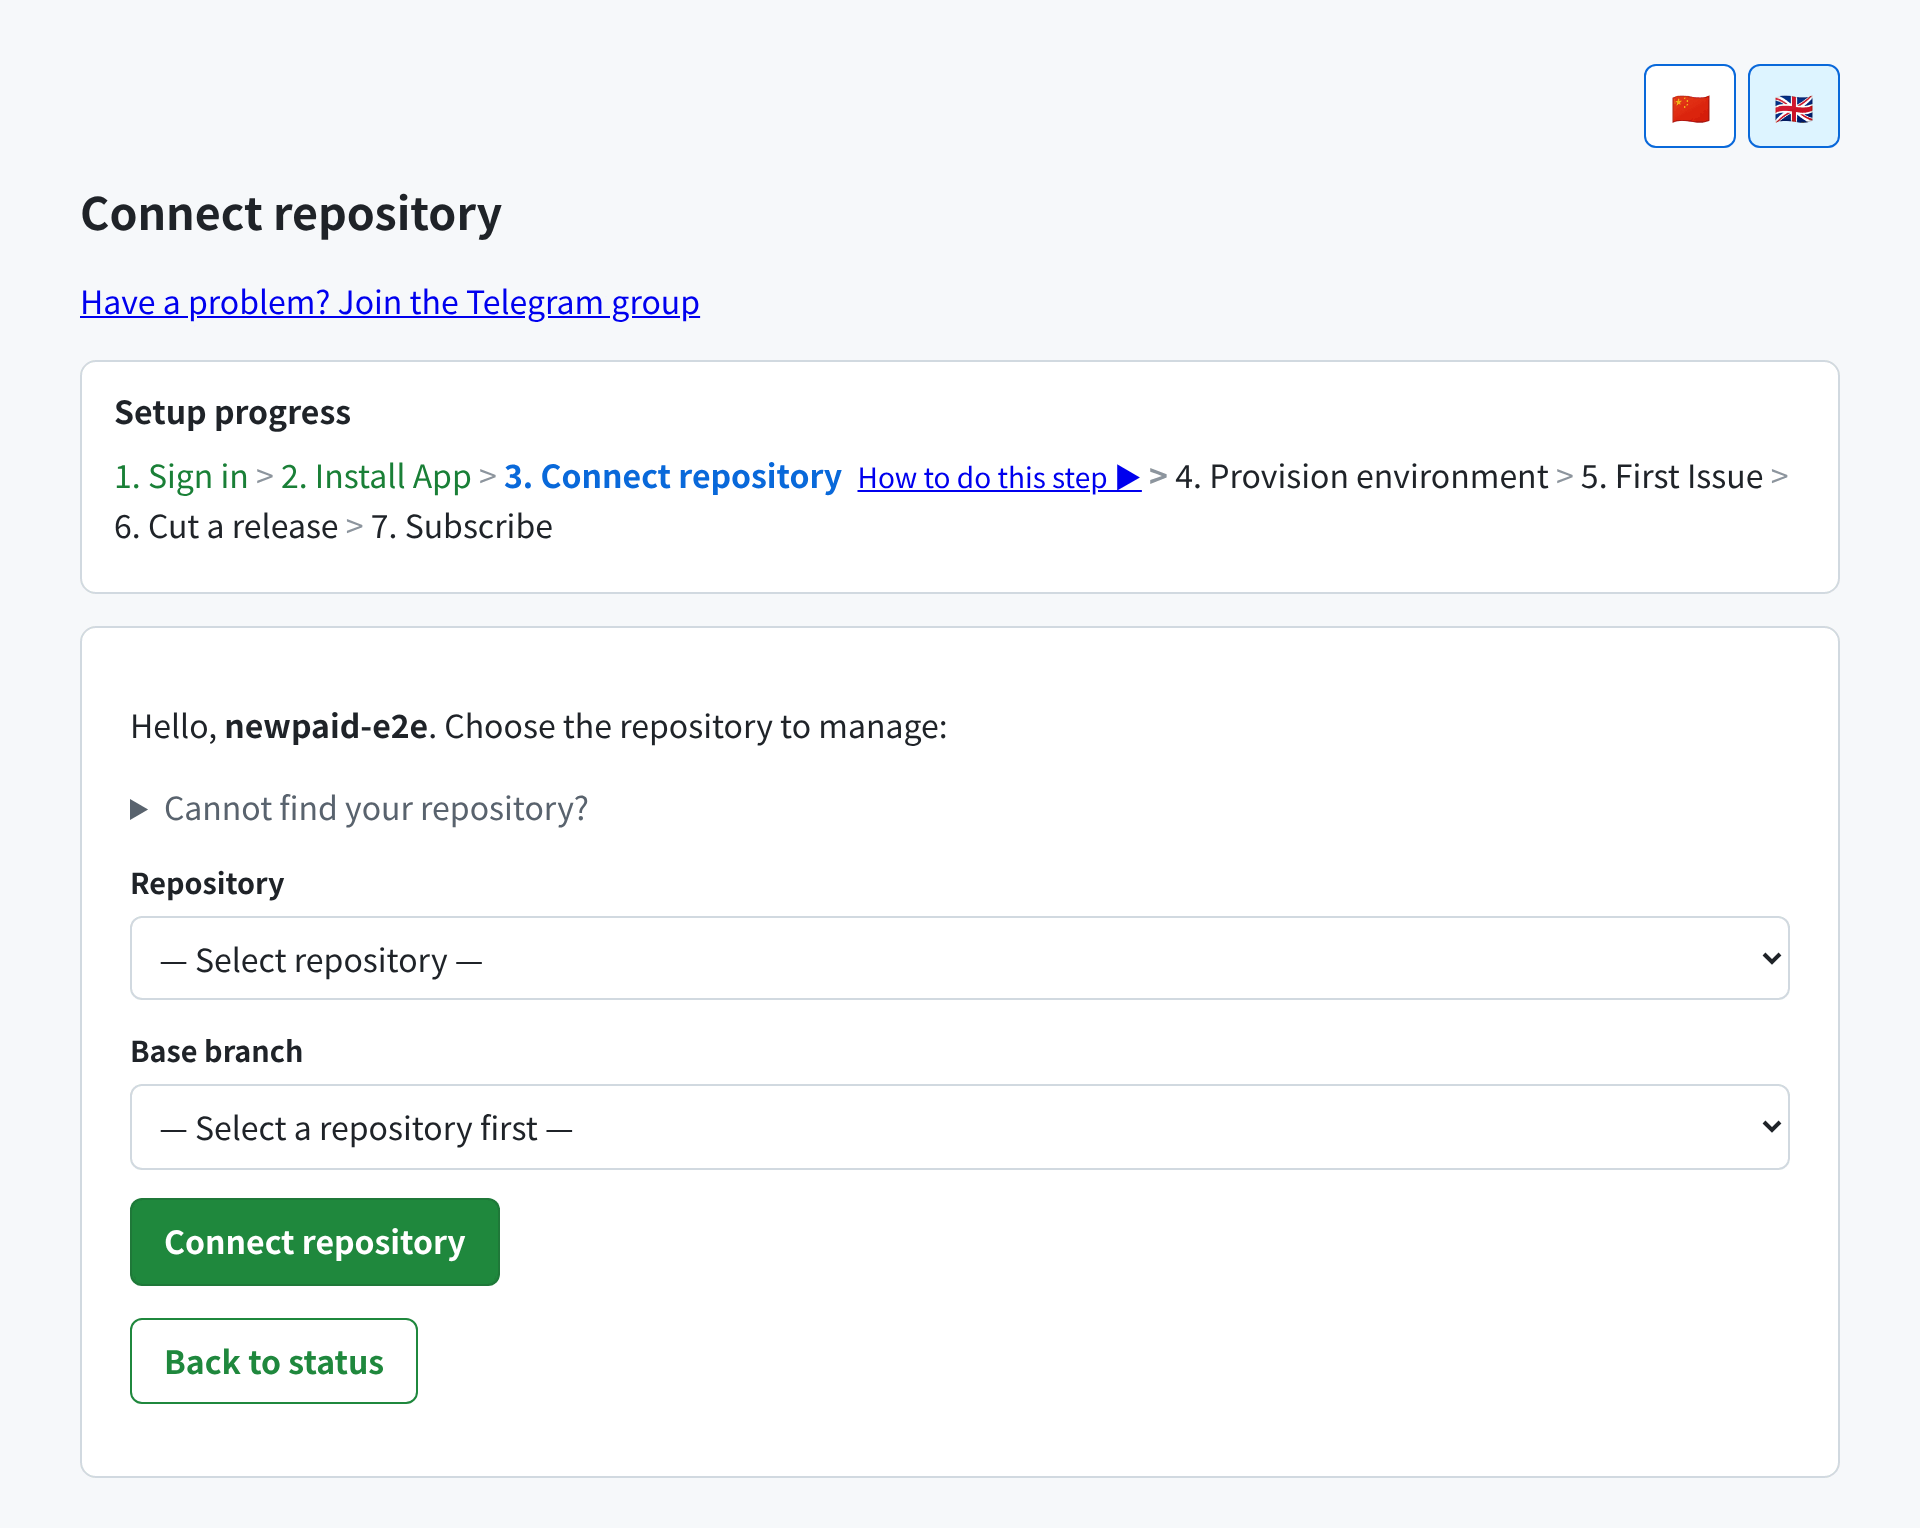
The Connect repository page, showing the repository and base branch dropdowns
- Repository — pick from the repositories your GitHub App installation covers.
- Base branch — the branch Orbi opens pull requests against. Selecting a repository loads its real branches and preselects its default branch, so usually you just confirm.
- Click Connect repository.
Requirements a repository has to meet
A repository can only be connected if:- It is covered by your GitHub App installation. Orbi only sees repositories you authorized.
- It has Issues enabled. Orbi’s entire input channel is Issues, so a repository with Issues turned off is rejected.
When your repository is not listed
The dropdown only contains repositories your App installation covers. If yours is missing, open Cannot find your repository? on the connect page: it explains the cause and links to GitHub’s App settings, where you can add the repository to the installation. You can also use Enter manually in either dropdown to type anOWNER/REPO value directly. That is useful when the listing is temporarily unavailable, but it does not bypass the authorization check — a repository the App cannot access is still rejected on submit.
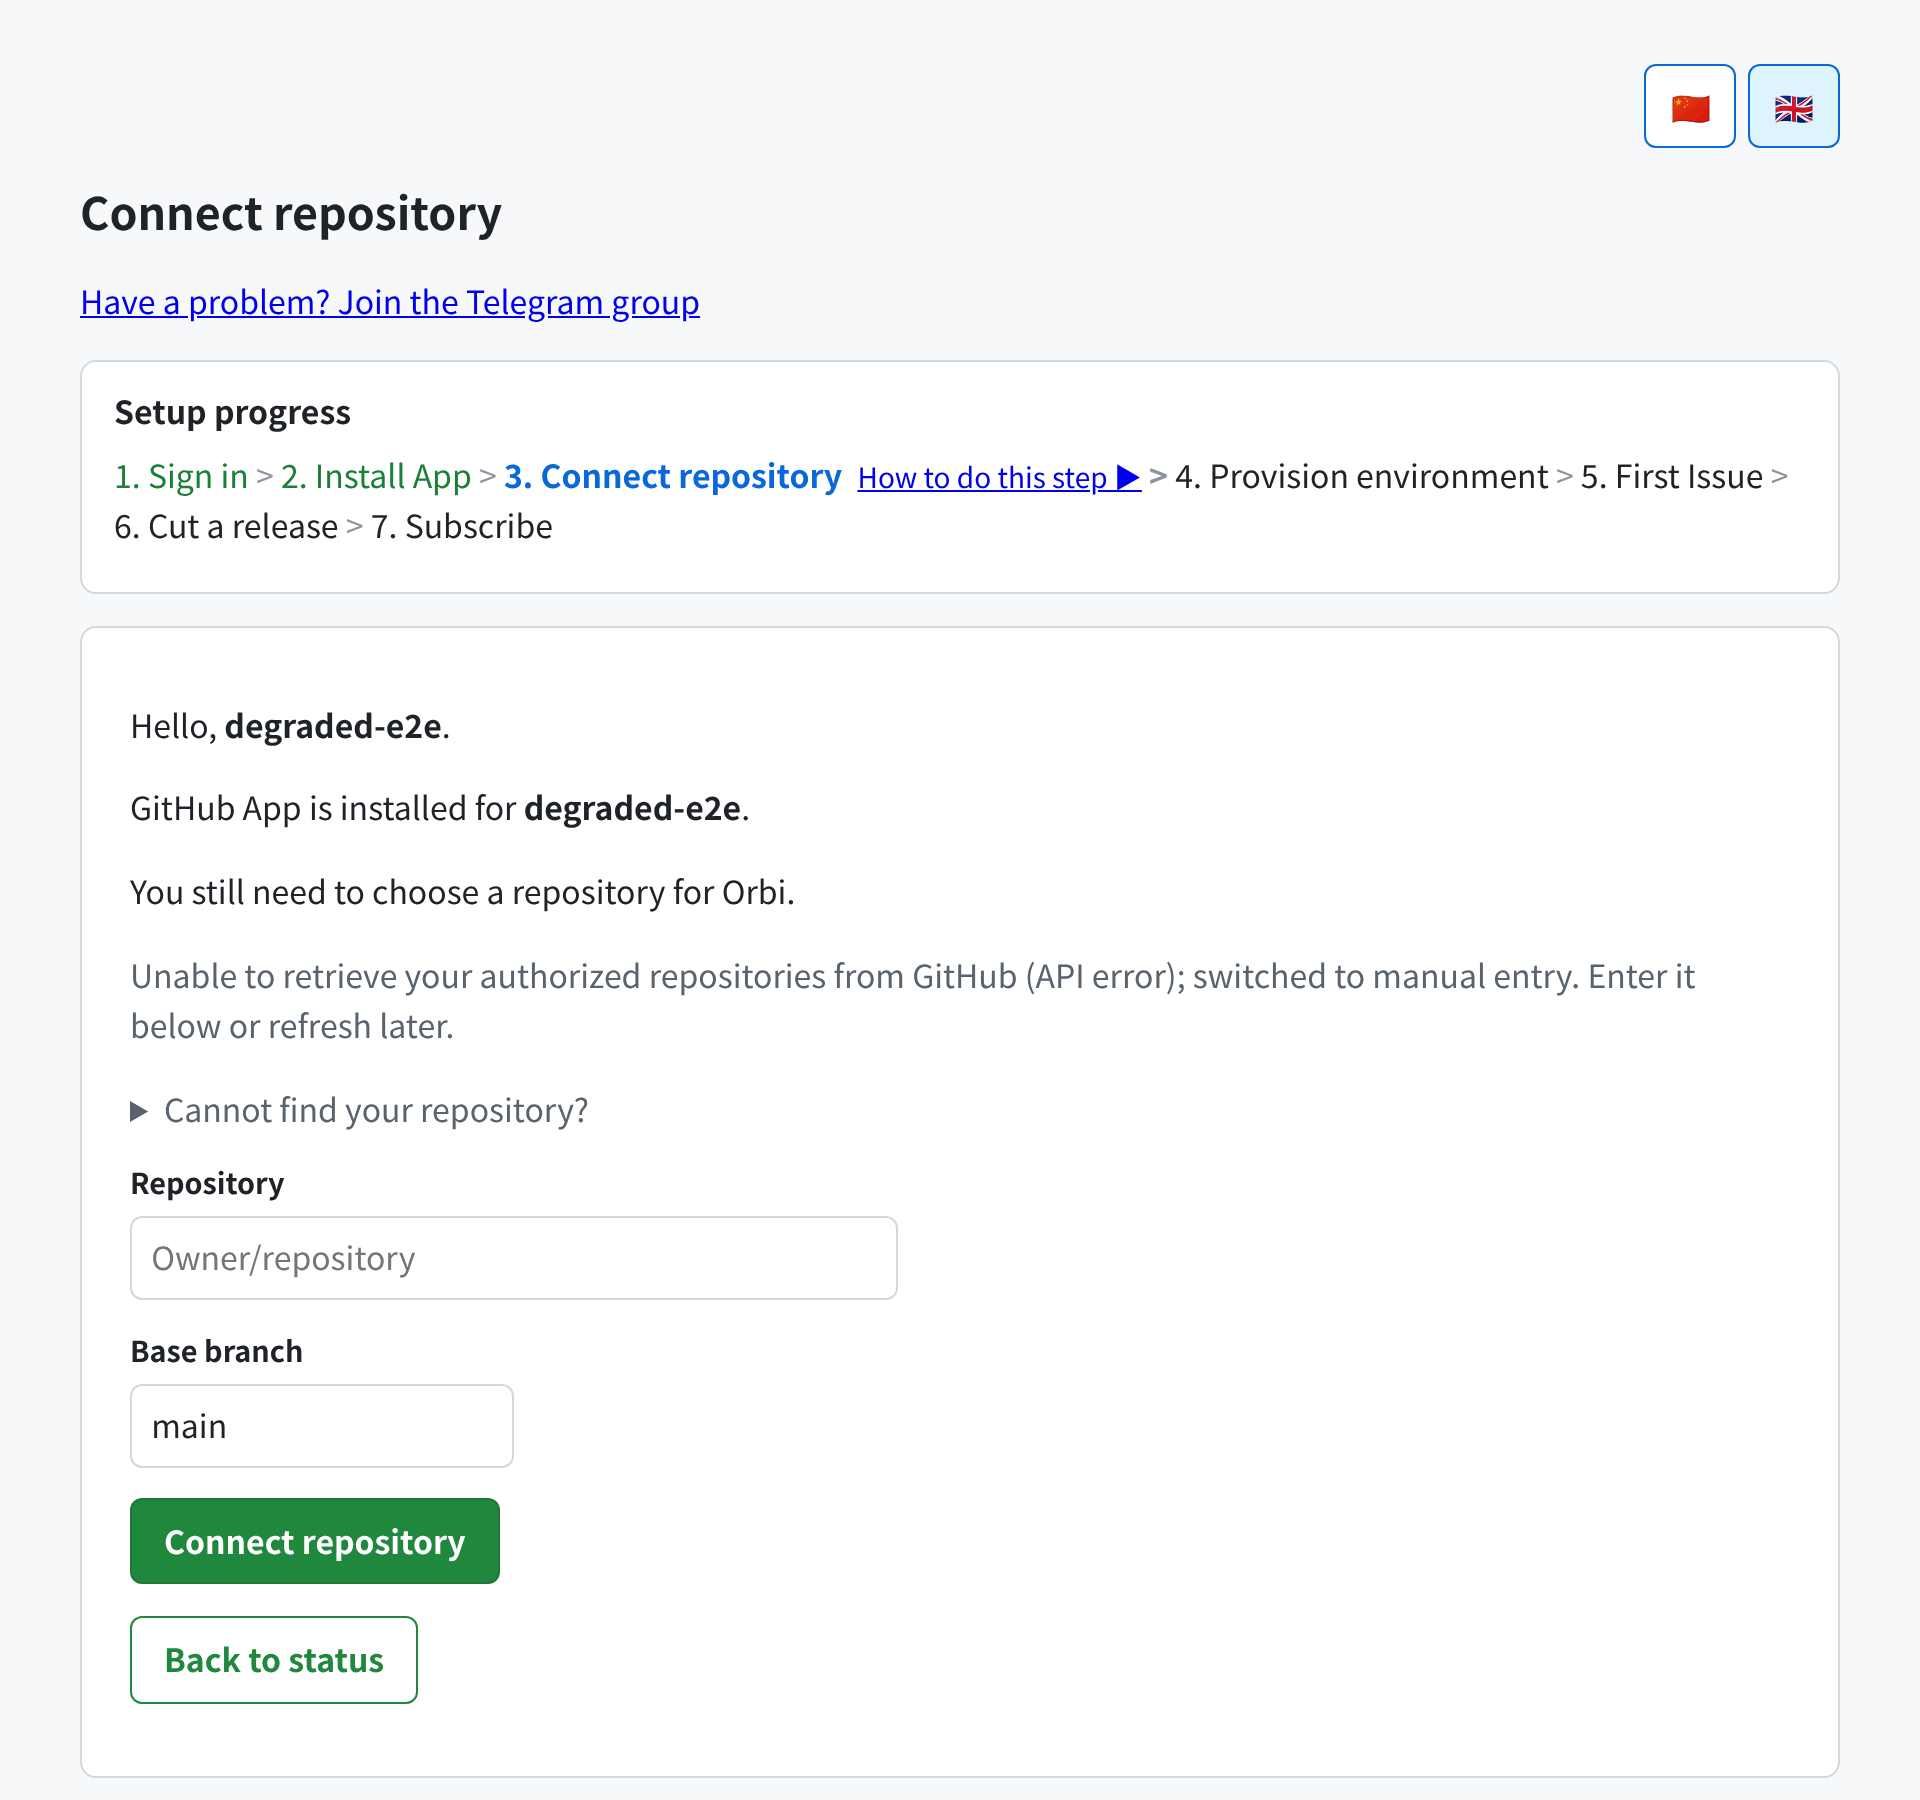
The connect page in its degraded state, with manual entry fields and a stated reason
Branch protection that blocks every merge
If your base branch requires approving reviews before merge, the connect page warns you in red immediately, because this setting stops every delivery at the merge step. The reason is identity: Orbi opens the pull request and merges it as the same GitHub App, and GitHub does not let a pull request’s author approve their own pull request. With required approvals in force, each delivery gets as far as a reviewed, ready pull request and then cannot merge it. Three ways to resolve it — pick whichever suits your policy:- Approve each delivery yourself. You or a colleague clicks Approve on the pull request, and the merge proceeds. Keeps a human in the loop on every change.
- Let admins bypass. Under Settings → Branches → Branch protection rules (or Settings → Rules → Rulesets), enable Allow admins to bypass, or add the account to the ruleset’s bypass list.
- Set required approvals to 0 in the same setting.
Changing the connected repository
Use Connect / change repository and connect a different one. The new repository becomes active and the previous one moves to history — it is not deleted, and it still appears under Historical repositories on the status page. Changing repositories provisions a fresh environment for the new one, which again takes a minute or two.You cannot change repositories while a delivery is in flight. The page tells you a delivery is still in progress and asks you to try again later. This protects the running delivery — wait for it to reach
ai-merged or ai-blocked, then rebind.What the errors mean
What happens next
Connecting starts provisioning — Orbi builds the isolated environment your deliveries run in and installs theai-* labels into your repository. Watch the Provisioning status column until it shows Provisioned, then file your first Issue.