ai-ready, and review the pull request Orbi opens.
This is the shortest complete path. Every step ends with a Success check so you can tell whether to continue or to stop and fix something. The whole path happens in a browser and in GitHub — you never get a shell on the runner, and you never install anything locally.
Before you start you need a GitHub account and a repository you can install a GitHub App on (you must be its owner, or an organization owner/admin). The repository must have Issues enabled — Orbi reads and labels Issues, so a repository with Issues turned off cannot be connected.
1. Sign in with GitHub
Open orbi.build/api/ and click Sign in with GitHub.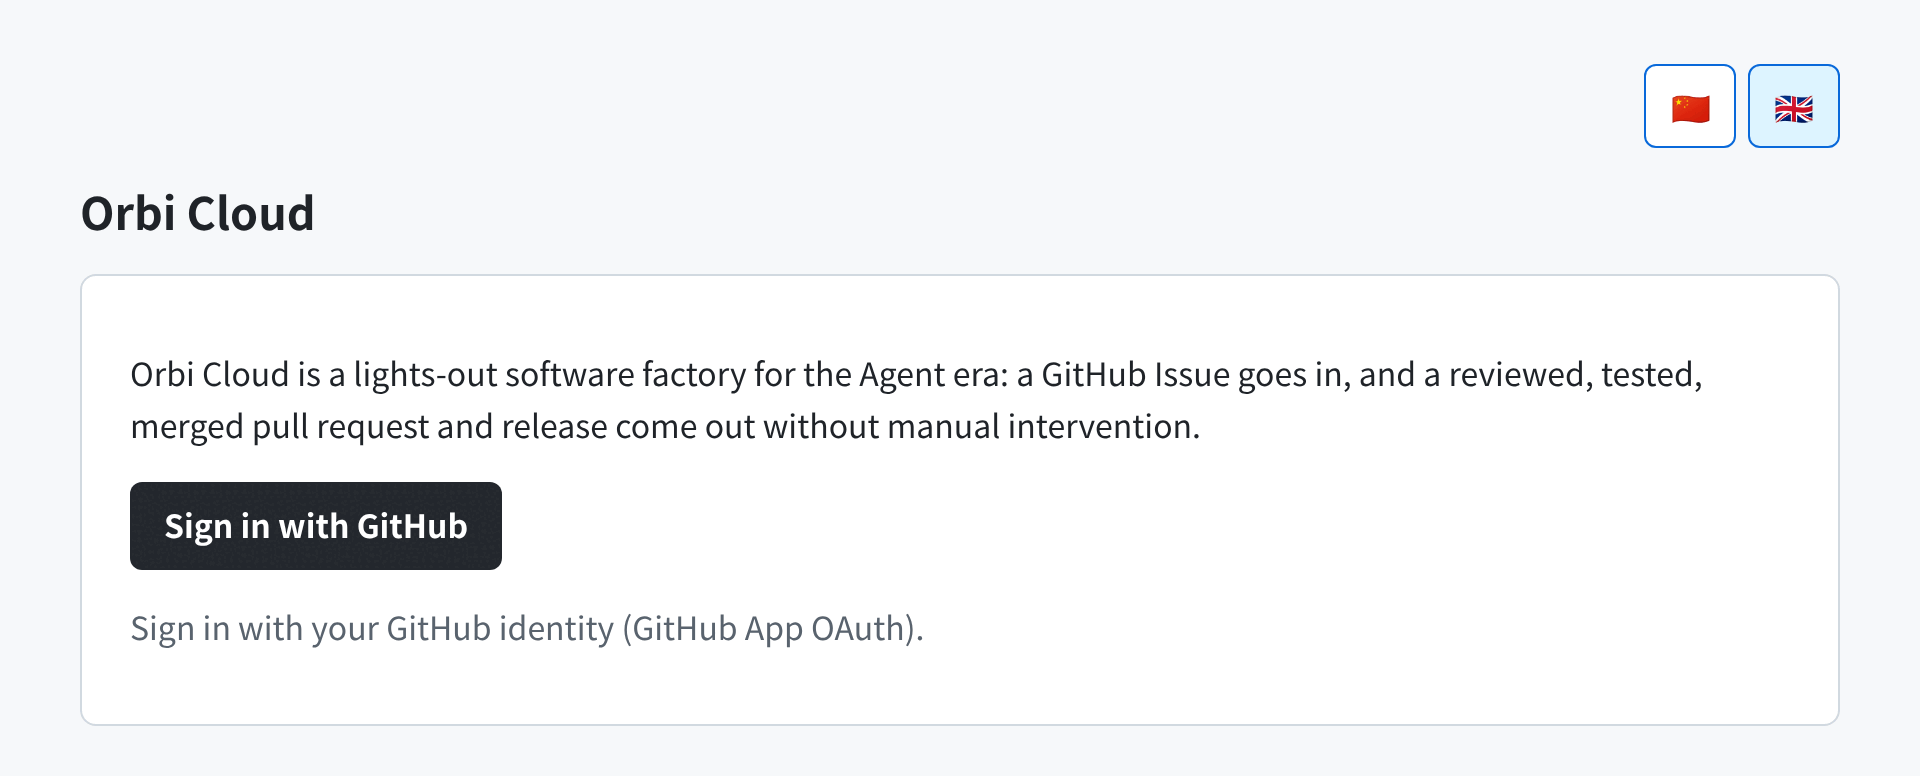
The Orbi Cloud sign-in page, with the Sign in with GitHub button
The page opens in Chinese if your browser prefers Chinese. Use the 🇬🇧 flag in the top right to switch to English — the choice is remembered in a cookie for a year.
2. Install the Orbi GitHub App
On the status page, the reminder at the top says Connect a GitHub repository first. Click Connect repository. If you have not installed the Orbi GitHub App yet, you are sent to GitHub’s installation screen. Choose the account or organization that owns your repository, select Only select repositories, and pick the one repository you want Orbi to work in. The App needs write access to Issues, pull requests and repository contents to do its job — it labels Issues, opens pull requests and pushes the branch it works on. You can review the exact permission list on GitHub’s install screen before you approve, and you can revoke the whole installation from GitHub at any time. Success: GitHub returns you to Orbi Cloud and you are on the Connect repository page.3. Connect the repository
Pick your repository from the Repository dropdown, then pick the Base branch — the branch Orbi opens its pull requests against, normallymain.
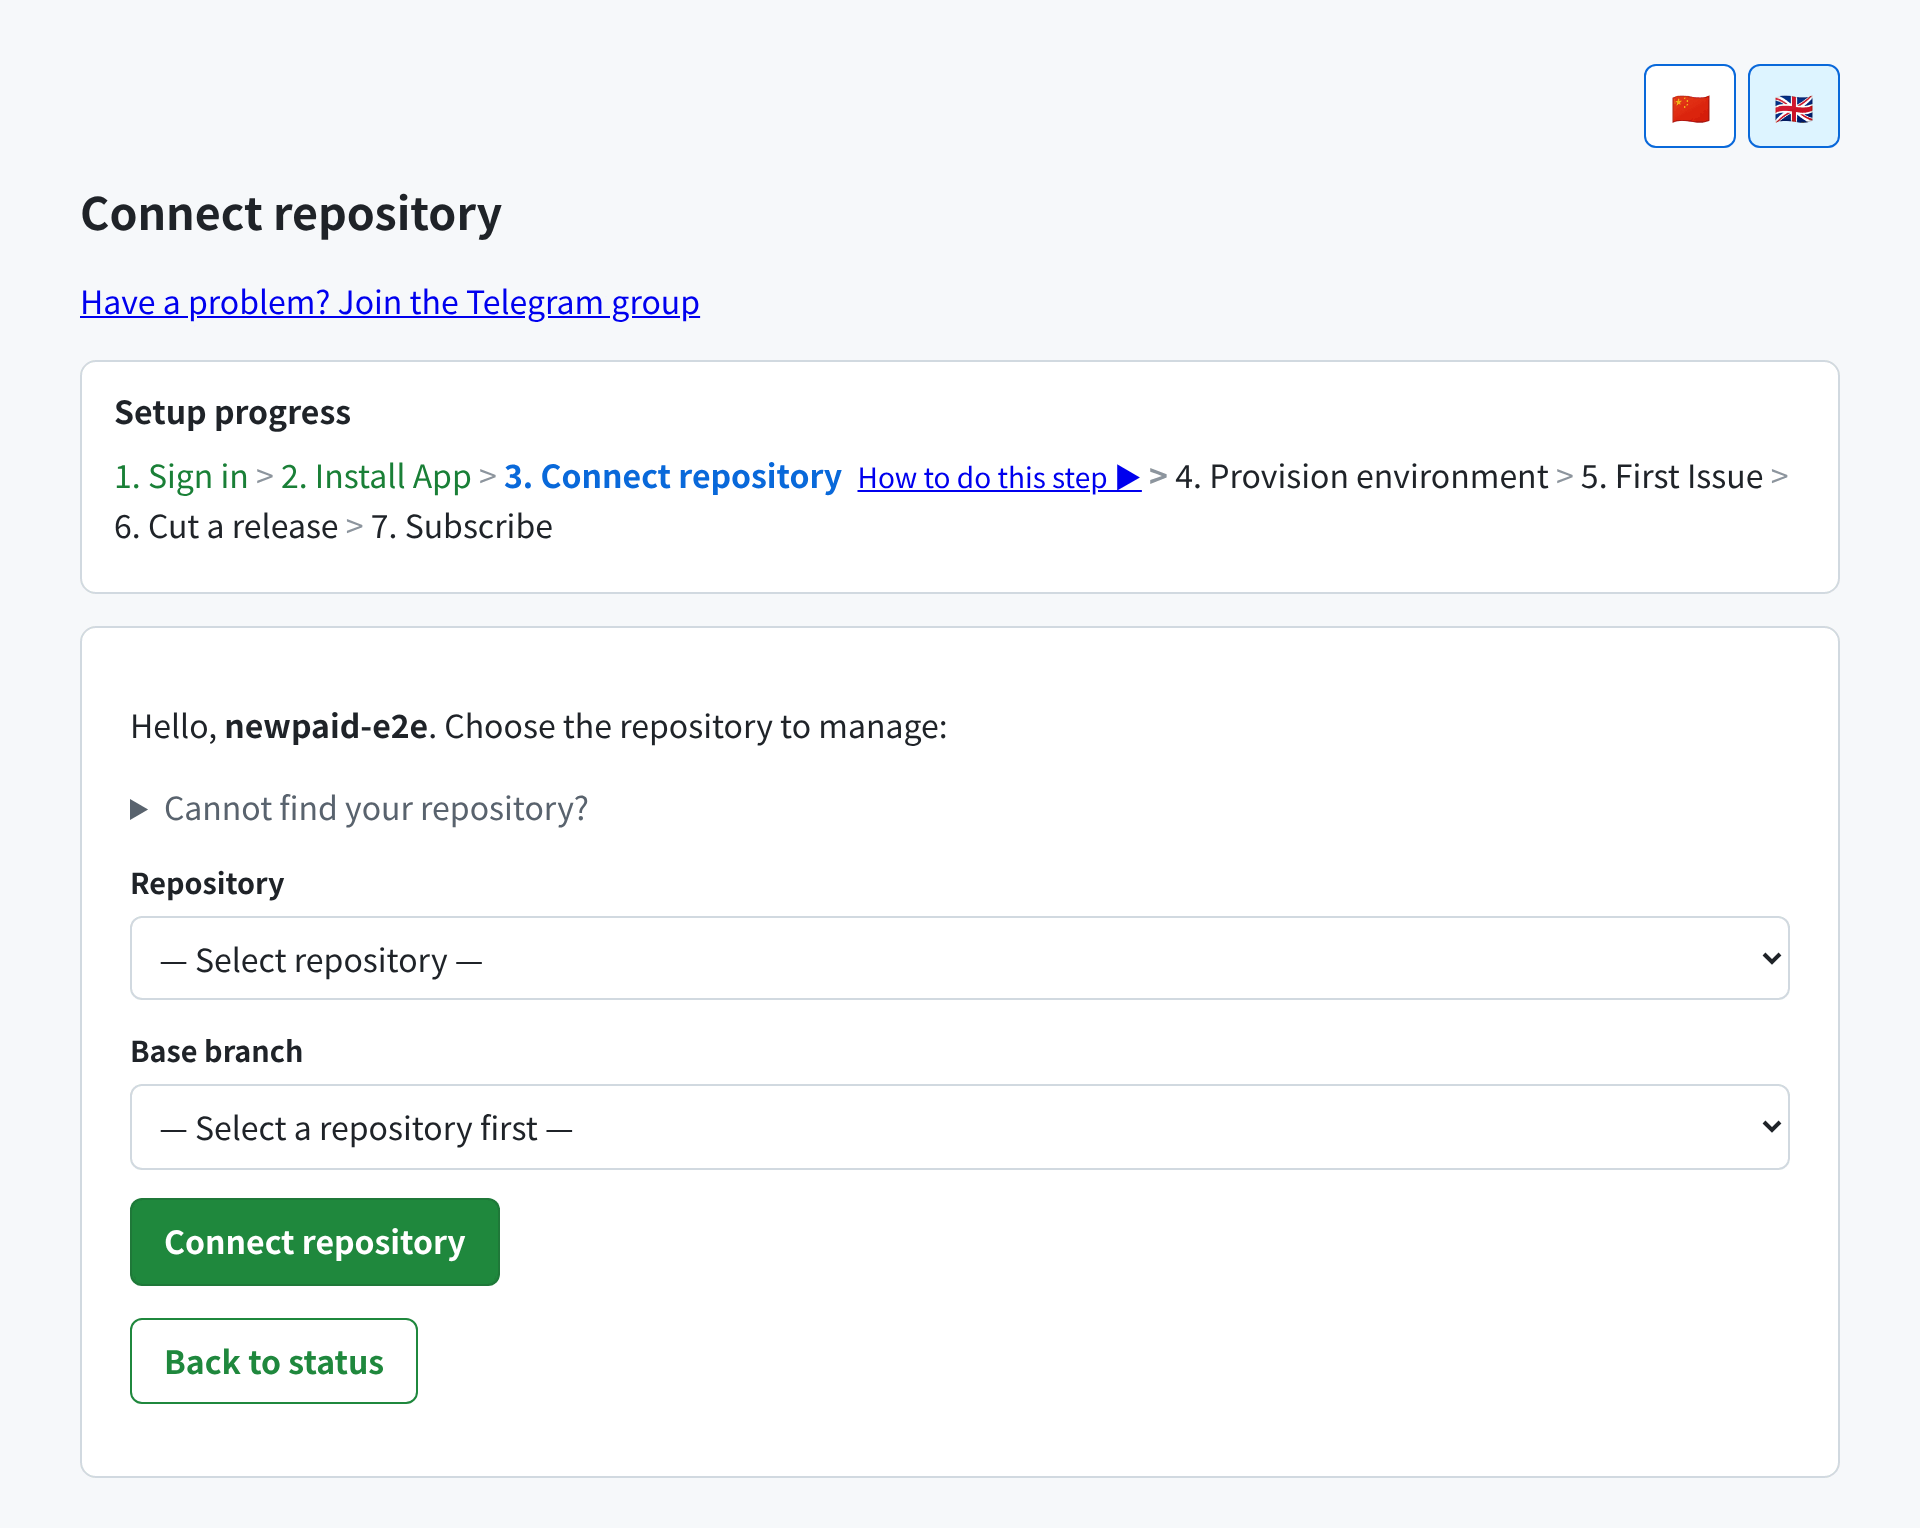
The Connect repository page, with a repository dropdown and a base branch dropdown
If your repository is not in the dropdown, Orbi cannot see it — the App was installed without it. Open Cannot find your repository? on that page for the link to GitHub’s App settings, where you can add the repository to the installation. One repository is active at a time; connecting another replaces it.
4. Wait for provisioning
Connecting a repository starts provisioning: Orbi builds an isolated environment for your repository and installs the delivery labels into it. This usually takes one to two minutes. You do not have to do anything. Watch the Provisioning status column in the Connected repository card. Reload the page to update it. Success: the Provisioning status column shows a green Provisioned chip. If it shows Provisioning failed instead, the card tells you the reason and the next step. Most failures are platform-side and recover on their own — see provisioning.5. File an Issue and label it ai-ready
In your connected repository on GitHub, create a normal Issue describing one change you want. Write it the way you would for a competent colleague who does not know your codebase: say what should change, and how you will know it worked.
Then add the ai-ready label to that Issue. The label already exists — provisioning created it.
That label is the execution switch. Orbi checks for newly labelled Issues on a timer, so pickup takes up to five minutes.
You can skip the manual labelling. If you already have open Issues, the status page lists them under Pick one for Orbi to try, each with a Let Orbi try this one button that applies the label for you.
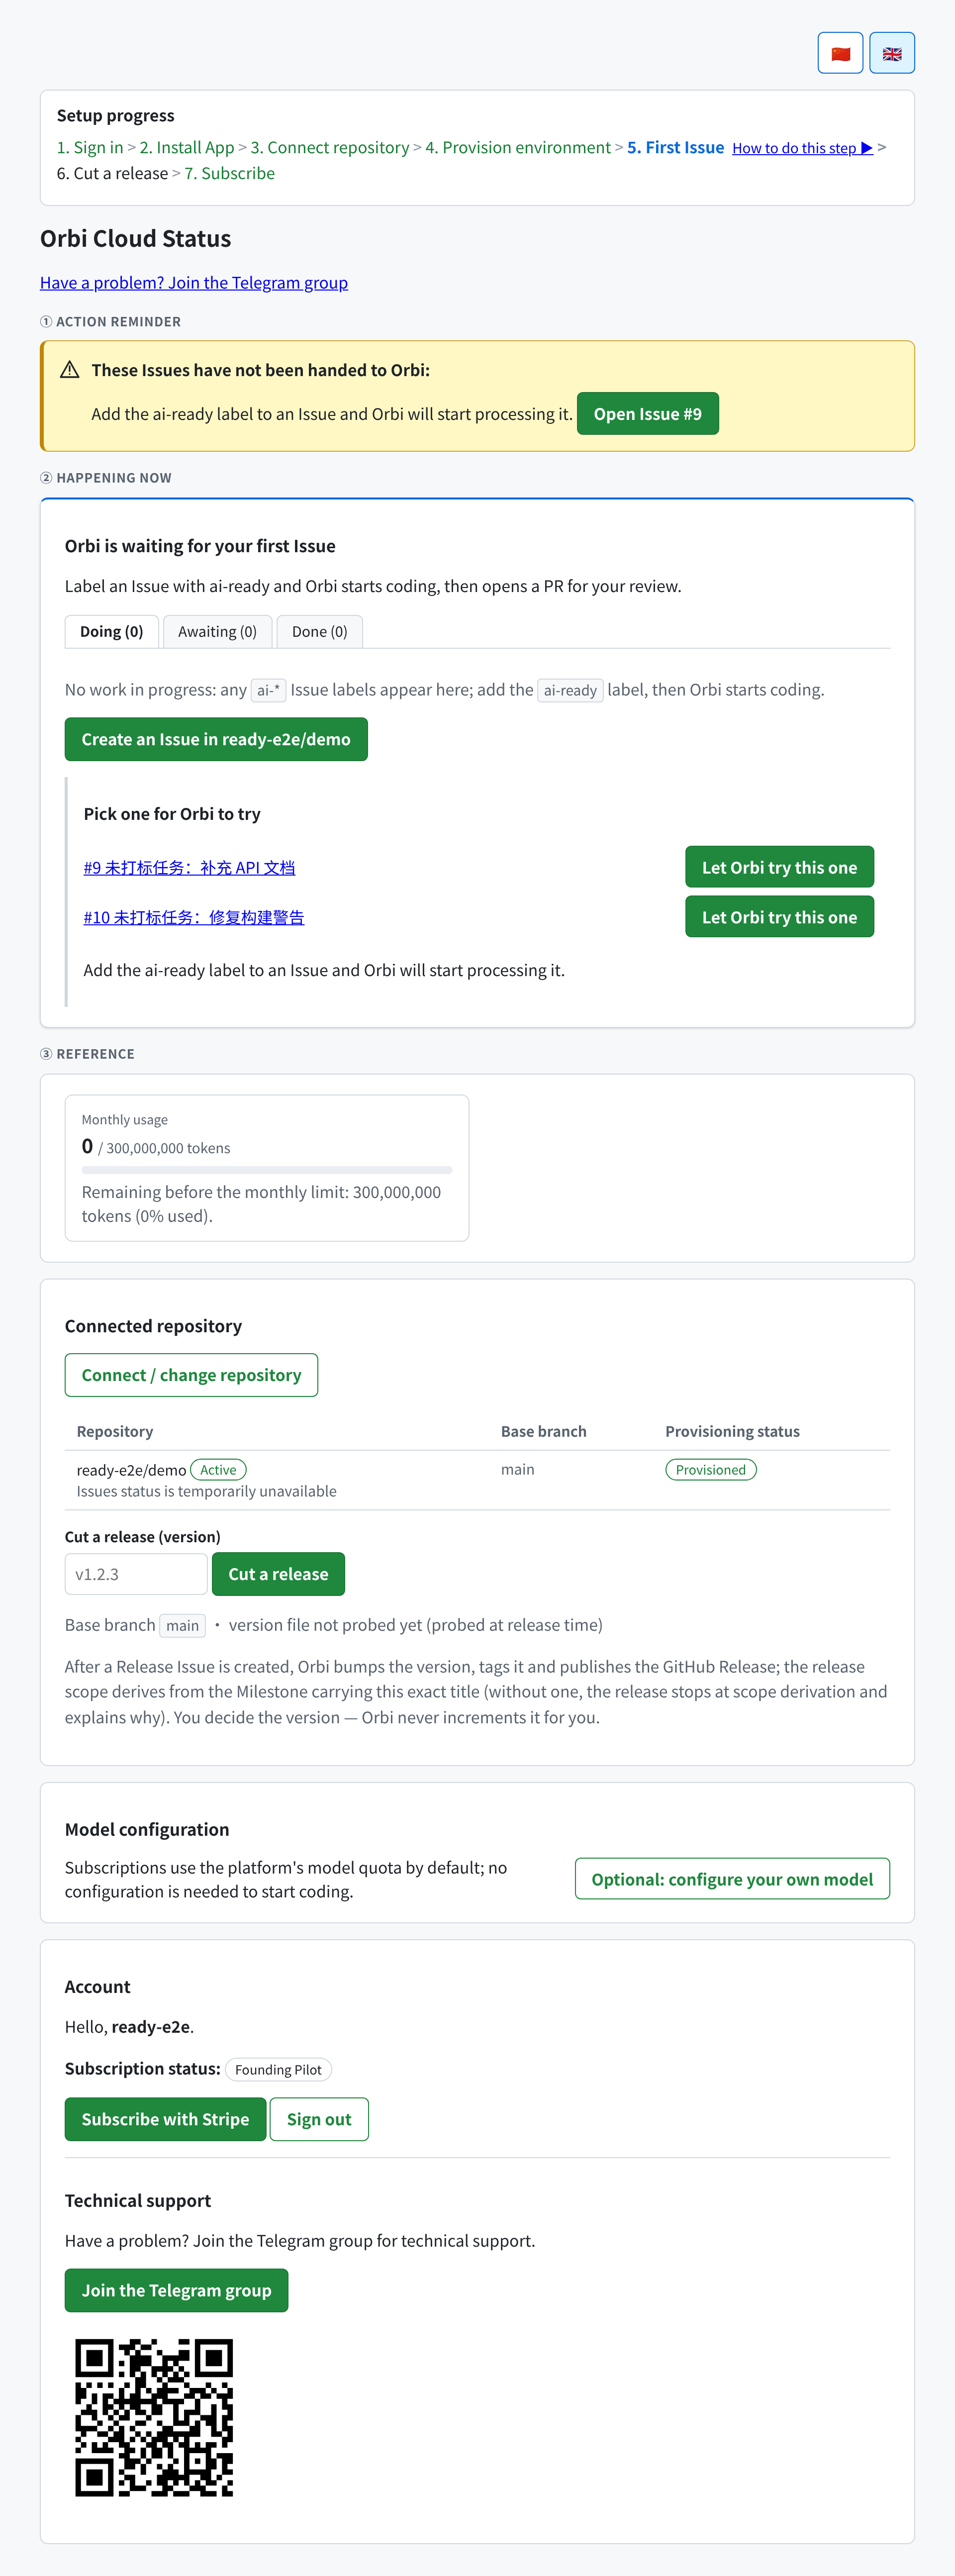
The status page listing untagged Issues, each with a Let Orbi try this one button
ai-in-progress appears on the Issue, and the status page’s Happening now card lists it under Doing.
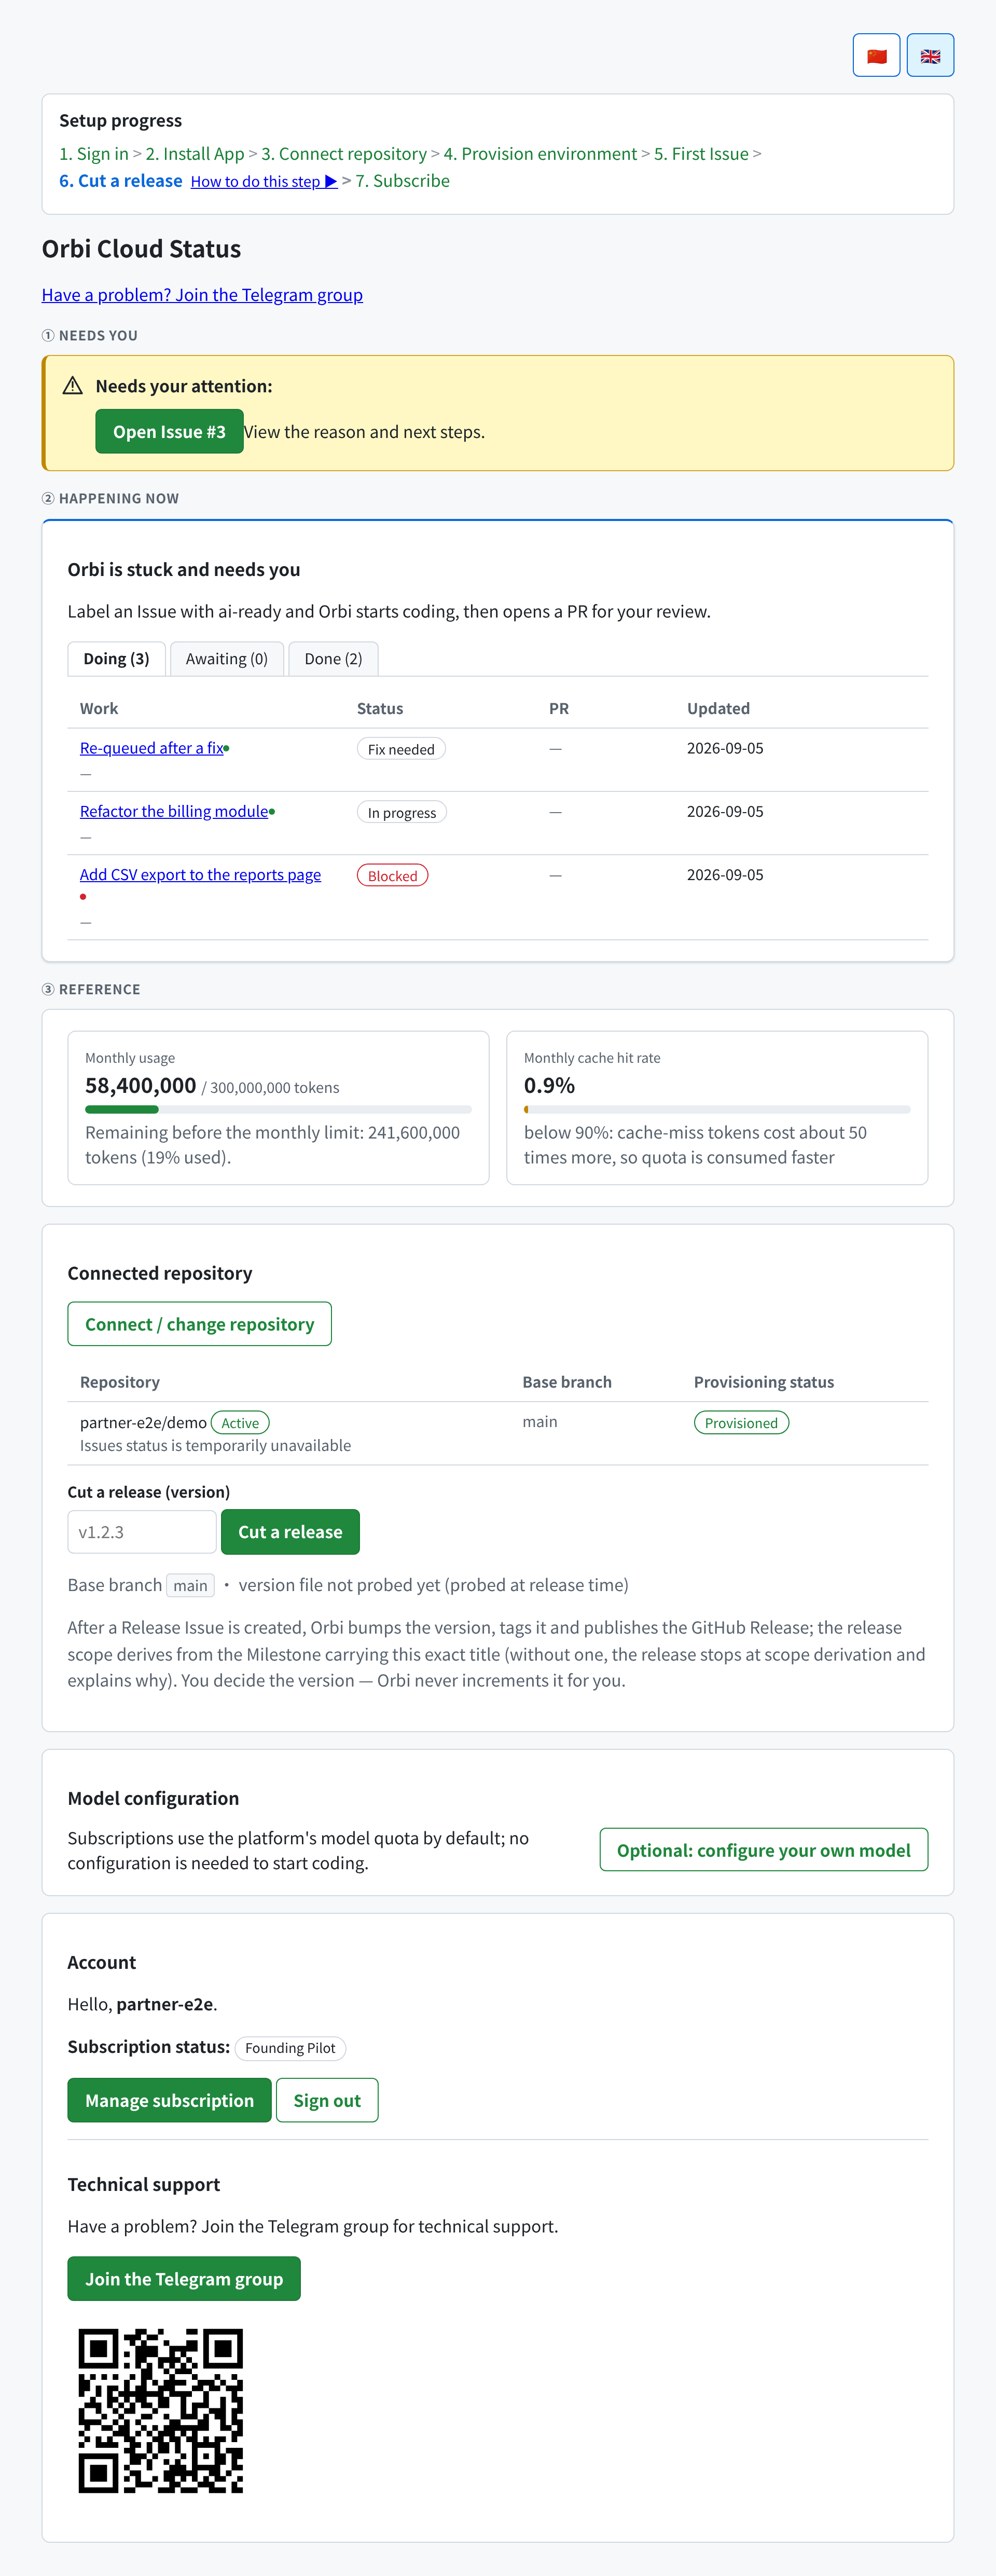
The status page showing work in progress, usage, the connected repository and the release form
ai-pr-opened, and the Issue reaches ai-merged once the reviewed commit is merged.
What to do next
Watch the Issue’s labels, or the status page. The three tabs on the Happening now card — Doing, Awaiting and Done — are the fastest read on where your work stands. When you are ready to ship what has merged, the Cut a release form in the Connected repository card creates the Release Issue for you: type a version likev1.2.3 and Orbi bumps, tags and publishes the GitHub Release. It needs a milestone with that exact title — see releases.
- To understand each label and what moves between them, read the delivery lifecycle.
- To use your own model key instead of the included quota, read model configuration.
- If the Issue reaches
ai-blocked, read troubleshooting — that state is waiting on a decision from you.